One of the questions I'm asked most often is: how do you actually make a print? The answer involves a technique that most people haven't heard o, and one that carries a very personal history for me.
I work in PVC etching: a non-toxic printmaking process that uses PVC (polyvinyl chloride) sheet as the plate surface instead of traditional metal. It's a technique that was pioneered by my mentor, Peter Indans , a remarkable printmaker and teacher who is no longer with us.

A Technique Born from Experimentation
I was at college when Peter first started playing with PVC as a plate material. He gathered a small group of us to experiment alongside him, testing what the surface could do, how it responded to different tools and inks, where its limits were. I was part of that original group, and those early sessions in the studio were some of the most formative experiences of my artistic life.
Peter was driven by experimentation. Traditional intaglio etching uses acid baths and metal plates, a process that requires significant ventilation, protective equipment, and specialist materials. PVC etching changed that. It opened the door to the same rich, expressive mark-making of intaglio without the chemical hazards.

What PVC Etching Is
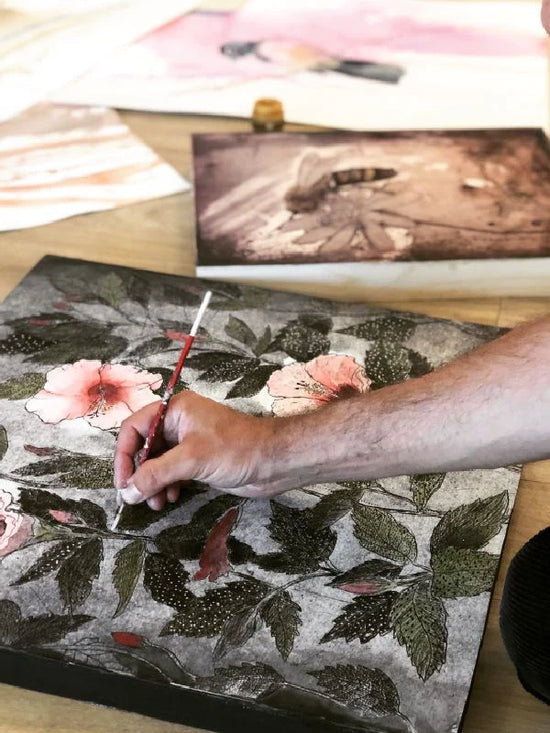
PVC sheet is a rigid, smooth plastic surface that responds beautifully to engraving tools. Rather than using acid to bite into a metal plate, the artist works directly into the PVC surface with drypoint needles, roulettes, burnishers, and other tools, creating grooves and textures that will hold ink.
The surface has a particular quality that I love: it holds fine detail with great precision, but it also responds to more gestural, expressive mark-making. You can work with a light touch for delicate lines, or press harder for deep, velvety marks that hold a lot of ink.

The Process, Step by Step
1. Preparing the plate. I start with a clean PVC sheet, cut to size. Unlike metal, it needs no polishing or chemical preparation, it's ready to work on immediately.
2. Drawing into the surface. Using engraving tools, I work directly into the PVC, creating the image in reverse. The marks I make are the marks that will hold ink, so I'm always thinking ahead, imagining the finished print as I draw.
3. Inking the plate. I push ink into the grooves by hand, working it across the surface with a dabber or card. Then I wipe the surface clean, leaving ink only in the recessed marks.
4. The pull. Dampened paper goes face-down on the inked plate, then through the press under pressure. The paper is pushed into the grooves, picking up the ink. When I lift the paper, the image appears — and that moment never gets old.

Why It Matters
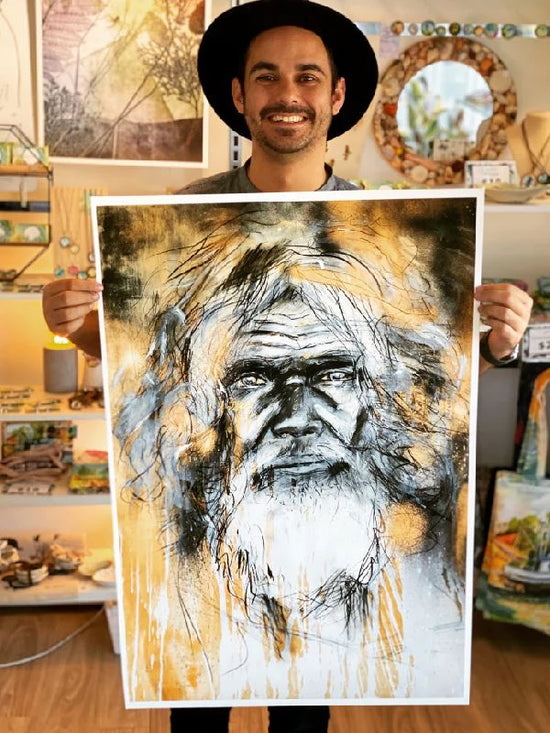
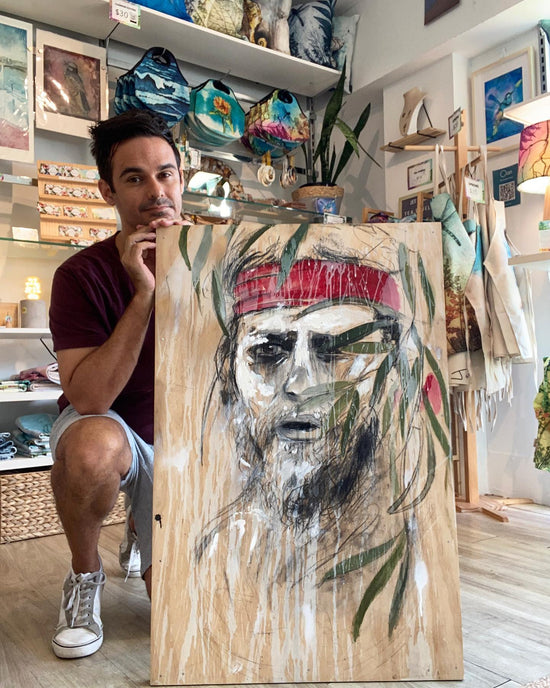
Every print I sell is pulled by hand in my studio using this process. The slight variations between prints , the warmth of the ink, the texture of the paper, the pressure of the pull, are what make each one genuinely original. You're not buying a reproduction. You're buying a handmade object with its own particular history.
And behind every print is a lineage: the curiosity of a teacher who asked what if we tried this differently?, and a group of students willing to find out. I carry that spirit into the studio every time I work.
In memory of Peter Indans — teacher, innovator, and a generous spirit.